Run Dev Containers without Docker on Windows 11
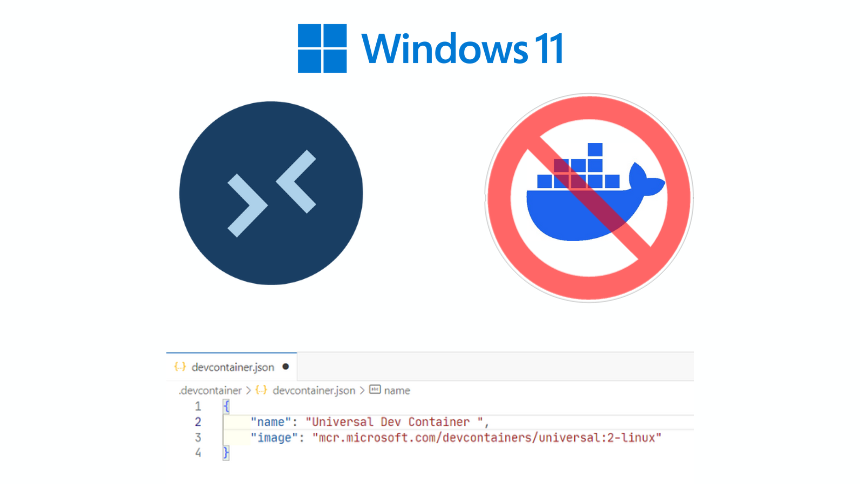
Table of Contents
Setting up a development environment can often be a daunting and complex task, especially when switching between multiple projects. Each project may require a distinct environment, making the transition between them challenging. This is where the magic of containers comes into play. In the world of IT, containers have revolutionized the way we handle project environments, offering isolation, consistency, and convenience. By not leveraging containers, IT professionals are missing out on the benefits of a smoother and more efficient workflow.
1. What Are Devcontainers?
Dev Containers, short for Development Containers, streamline the process of managing development environments. These are self-contained development environments that can be utilized directly within GitHub.com, Visual Studio Code (VSCode) through a plugin, or via a command line interface. This setup ensures consistent, reproducible environments across different projects.
Dev Containers are configured via a JSON file, which should be placed in the .devcontainer folder, for example: .devcontainer\devcontainer.json.
Below is an example configuration providing an environment for many languages (note that this particular image is quite large, almost 13GB):
{
"name": "Universal Dev Container",
"image": "mcr.microsoft.com/devcontainers/universal:2-linux"
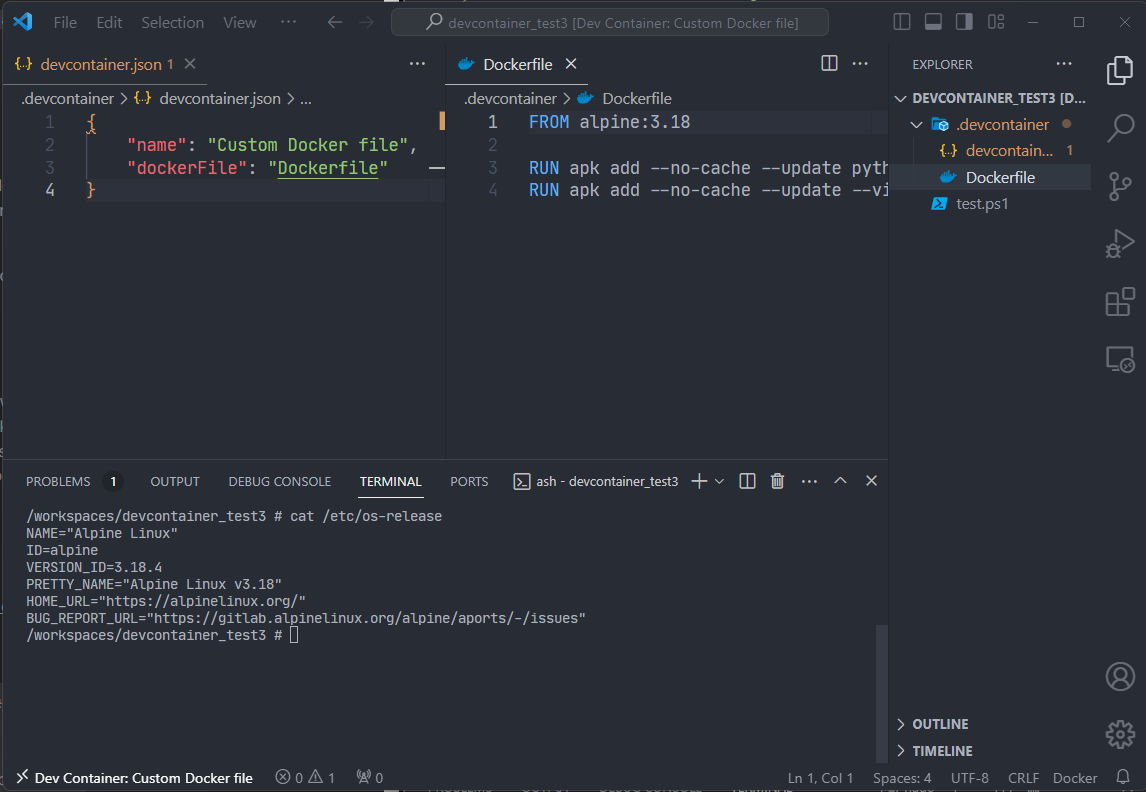
}You can also use a custom Docker file:
{
	"name": "Custom Docker file",
	"dockerFile": "Dockerfile"
}
Alternatively, instead of writing a custom Dockerfile, you can use Dev Containers features in some cases:
{
	"name": "Alpine with azure cli",
	"image": "mcr.microsoft.com/devcontainers/base:alpine-3.18",
	"features": {
		"ghcr.io/devcontainers/features/azure-cli:1": {}
	}
}With such a configuration, you need only run the Dev Containers: Reopen in Container command from vscode, and wait for your Dev Container to be ready.
More details about Dev Containers can be found at https://containers.dev
2. The Shift Away from Docker
Docker has long been the go-to container technology for many developers, emerging as the default choice for managing Dev Containers due to its widespread adoption and ease of use. However, recent changes to Docker’s licensing have prompted some users to explore alternatives.
The good news for those in the developer community is that viable options are available for those who prefer not to or cannot use Docker.
3. Podman: A Docker Alternative
One such alternative is Podman. It closely mirrors Docker’s commands, making the switch fairly seamless — you simply use podman instead of docker in the command line. To make the transition even smoother, you can set up an alias so that docker commands are interpreted as podman commands. Personally, I opt to explicitly use podman in my commands, just to keep in mind that I’m using a different tool. But such a change can be needed if you are using a tool that has hardcoded usage of docker command.
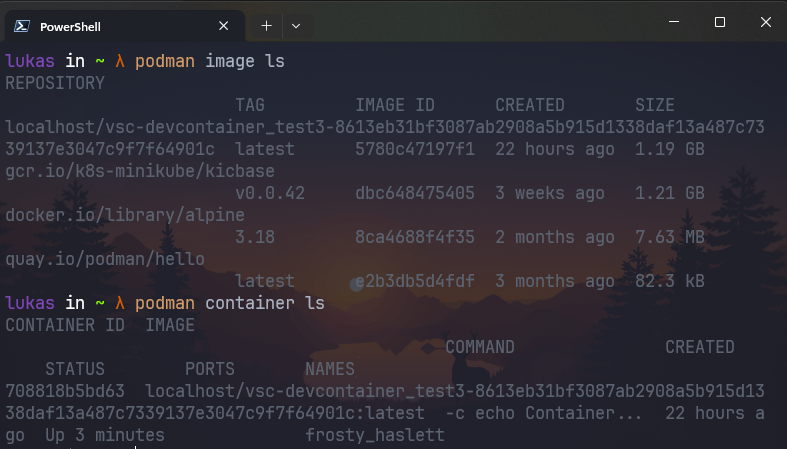
It is also worth to mention that Podman is not just a Docker with a different name. It is a different tool, with cli commands compatible with Docker cli. However this post is just about using devcontainers, so I’m intensionally skipping describing these differences.
If you are using Windows, you can download Podman desktop from https://podman-desktop.io. Instalation and configuration is very simple.
Are you interested in staying up-to-date with the latest developments in #Azure, #CloudComputing, #PlatformEngineering, #DevOps, #AI?
Follow me on LinkedIn for regular updates and insights on these topics. I bring a unique perspective and in-depth knowledge to the table. Don't miss out on the valuable content I share – give me a follow today!
4. Configuring VSCode for Podman
To integrate Podman with vscode, adjust the following vscode settings (on user level):
"dev.containers.dockerPath": "podman"- this tells vscode which container engine to use"dev.containers.mountWaylandSocket": false- currently, this is necessary (at least for me) as enabling it (which is default option) is causing errors during devcontainer creation. I haven’t fully explored the implications of disabling this, but so far, I haven’t encountered any issues in my projects.
Additionally, during the Podman machine setup, you need to enable “User mode networking”. Without this, I found that accessing the internet from inside the containers was not possible.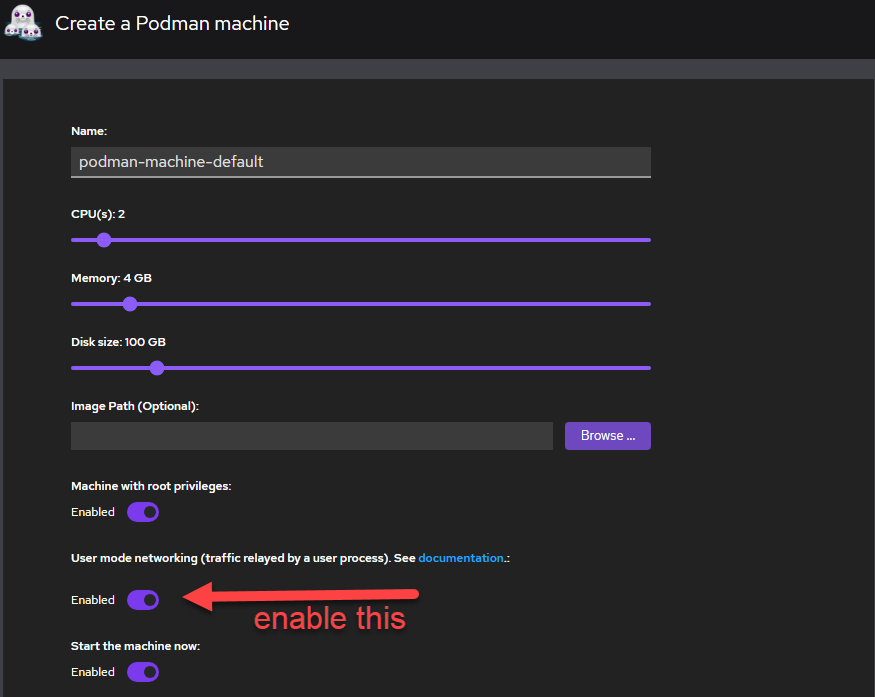
Earlier in this post I mentioned a possibility to configure Dev Containers by specifing featrues in devcontainer.json file. Unfortunately, this feature doesn’t work for me with Podman. There is even an issue reported for Podman on GitHub, which you can view here: https://github.com/containers/podman/issues/17313.
Hopefully, this issue will be resolved in the future.
This setup is working well for me with both rootless and rootful Podman configurations. I’m using Podman Desktop v1.5.3 and Podman Engine v4.7.2 on Windows 11 and Windows 10.
5. Wrapping Up
Thanks to Podman, we are no longer constrained by Docker’s licensing limitations. This ensures that devcontainers are accessible to everyone, regardless of the operating system they use.
Happy coding with devcontainers!!
Do you like this post? Share it with your friends!
You can also subscribe to my RSS channel for future posts.